


Quick Answer
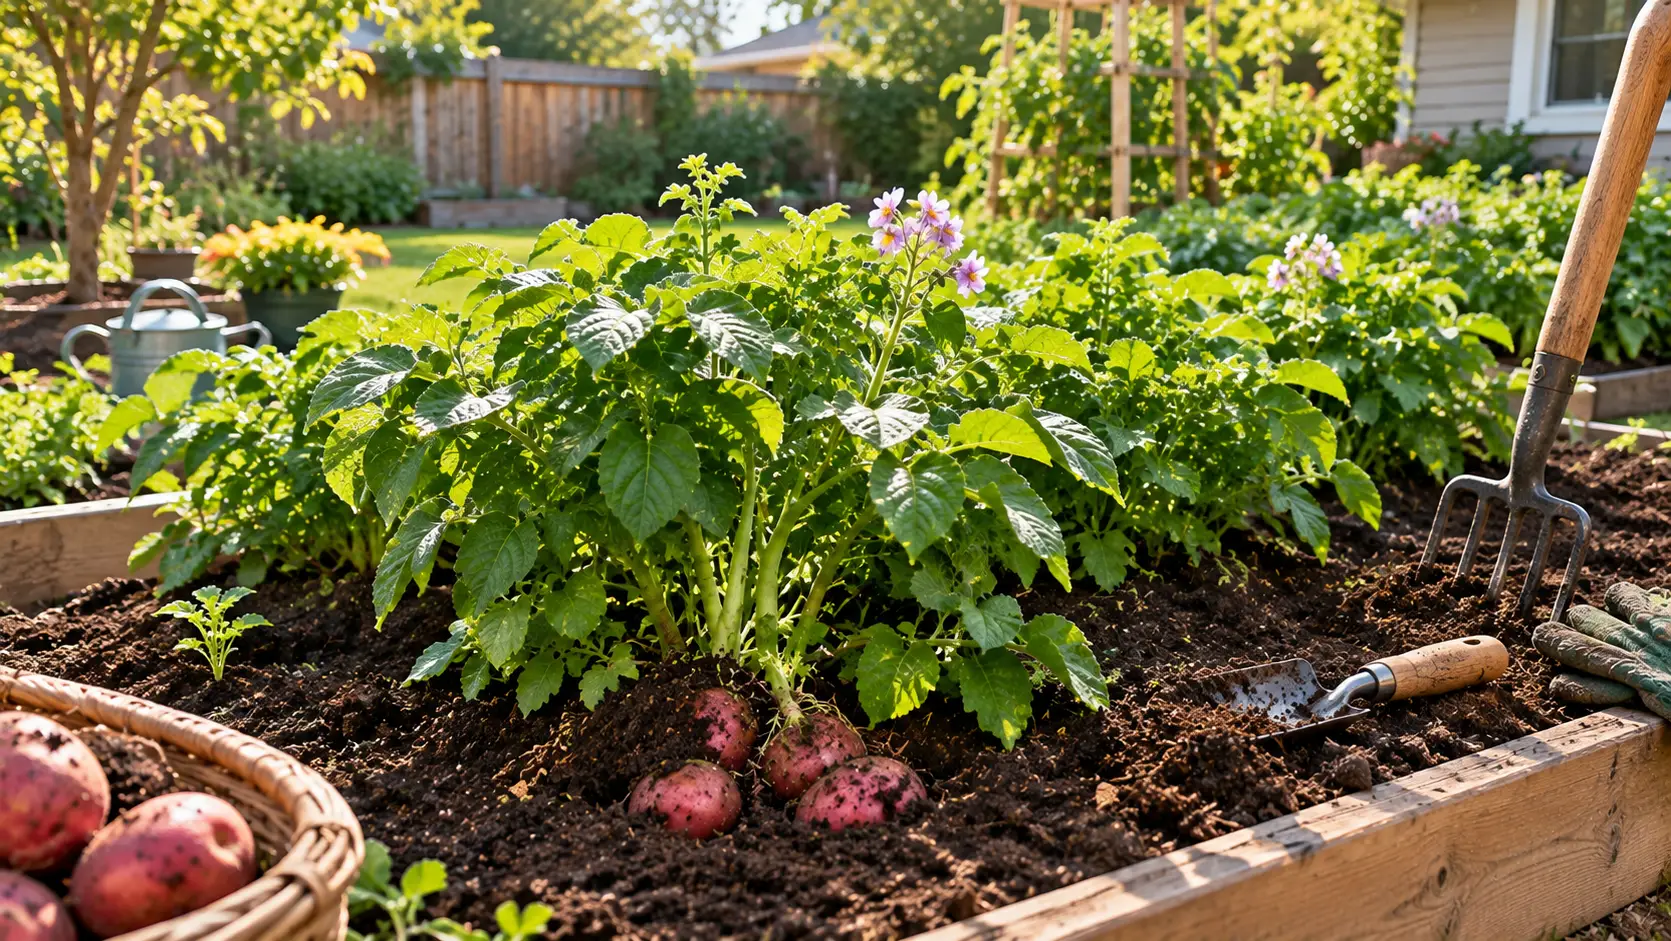
Growing red potatoes starts with certified seed potatoes, cut into pieces with 1 to 2 eyes each and planted 3 to 5 inches deep, 10 to 12 inches apart, in rows 30 to 36 inches apart. Hill soil around the stems as they grow to protect developing tubers from light. Most red varieties like Red Norland or Red Pontiac mature in 70 to 110 days, and you’ll know they’re ready once the vines yellow and die back.
Red potatoes tolerate cool soil, need little attention once planted, and give a reliable yield even in an average backyard bed. Varieties like Red Norland mature in as little as 65 to 80 days, while Red Pontiac runs closer to 90 to 110 days, so you can pick a variety that fits your growing season.
This guide covers the whole process: choosing and preparing seed potatoes, planting depth and spacing, hilling, watering, common pests, and how to cure and store your harvest so it lasts for months instead of weeks.
Step 1: Choose Certified Seed Potatoes
Start with certified seed potatoes from a garden center or seed catalog, not potatoes from a grocery store. Grocery store potatoes are often treated with a sprout inhibitor and can carry diseases that spread through your soil for years. Certified seed is inspected for viruses and bacterial disease, which matters more for potatoes than almost any other vegetable.
Popular red varieties include:
- Red Norland: Early season, ready in 65 to 80 days, good for short growing seasons.
- Red Pontiac: Mid to late season, 90 to 110 days, adaptable to both clay and sandy soil.
- Chieftain: Similar mid-season timing, known for solid disease tolerance.
Step 2: Chit Your Seed Potatoes (Optional but Useful)
Chitting, also called green sprouting, means letting seed potatoes sprout before you plant them. Set whole or cut seed potatoes eyes-up in a cool, bright spot around 50 to 60°F for 2 to 4 weeks before planting. This step can move up your harvest by 7 to 14 days and gives plants a head start before pests like the Colorado potato beetle become active.
If a seed potato is larger than a golf ball, cut it into pieces with at least 1 to 2 eyes each. Let the cut surfaces air-dry for 1 to 2 days before planting; this lets a protective layer form over the cut and cuts down on rot in the soil.
Step 3: Prepare the Soil
Potatoes want loose, well-drained soil tilled 8 to 12 inches deep so tubers have room to expand. Mix in 2 to 3 inches of well-rotted compost before planting, but skip fresh manure, which pushes leafy growth at the expense of tubers and can worsen scab, a rough patchy skin condition.
Potatoes prefer slightly acidic soil. Test your soil before adding lime or wood ash, since raising the pH too far can increase the risk of scab.
Step 4: Plant at the Right Depth and Spacing
Plant seed pieces cut-side down, eyes facing up, in a trench or individual holes:
- Depth: 3 to 5 inches in most soils; go shallower (around 3 inches) in cold, wet spring soil, and slightly deeper in warm, fast-draining soil.
- Spacing: 10 to 12 inches apart within the row.
- Row spacing: 30 to 36 inches between rows.
Closer spacing, around 6 to 9 inches, gives you more potatoes at a smaller size, useful if you mainly want new potatoes. Wider spacing gives fewer, larger tubers.
Plant once the soil is workable and has warmed to at least 50°F, generally 2 to 3 weeks before your last frost date for an early crop.
Step 5: Hill the Plants as They Grow
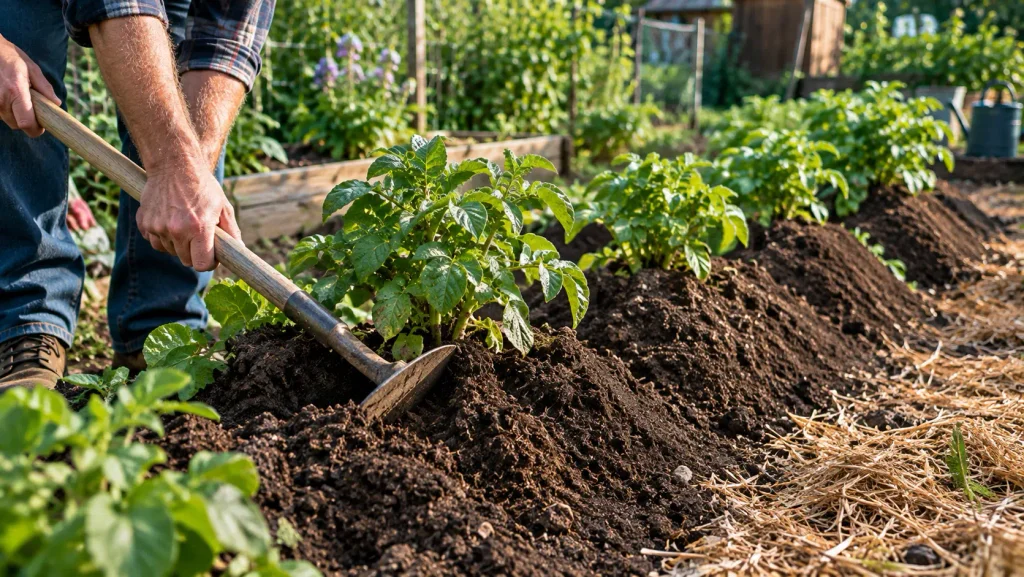
Hilling is the single most important ongoing task in growing red potatoes. Tubers form on short stems above the seed piece, and any tuber exposed to sunlight turns green and develops solanine, a compound that makes the potato bitter and mildly toxic.
Here’s the process:
- Once stems reach 6 to 8 inches tall, pull soil, straw, or mulch up around the base, covering the lower half of the plant and leaving the top leaves exposed.
- Repeat every time the plant grows another 6 to 8 inches.
- Stop hilling once the plants begin to flower; flowering signals that tuber formation is well underway.
By the end of hilling, you’ll have a mound 12 to 18 inches tall along the row. This also improves drainage around the tubers and helps suppress weeds.
Watering and Feeding
Keep soil evenly moist, especially from flowering through the tuber-bulking stage that follows. Large swings between dry and wet soil cause misshapen or cracked tubers, so aim for consistency rather than heavy watering all at once.
Side-dress with a balanced fertilizer when plants are 4 to 6 inches tall, and again about 6 weeks after planting as tubers begin to form. Water the soil directly rather than wetting the foliage, which helps reduce fungal disease.
Red Potato Varieties Compared
| Variety | Days to Maturity | Best For | Notes |
| Red Norland | 65-80 days | Short growing seasons | Waxy texture, good for boiling and salads |
| Red Pontiac | 90-110 days | Clay or sandy soil | Stores 3-5 months, adaptable to zones 3-9 |
| Chieftain | 90-110 days | General purpose | Solid disease tolerance |
Crop Rotation and Soil Health
Potatoes belong to the nightshade family, along with tomatoes, peppers, and eggplant. Planting potatoes in the same spot as any of these crops in back-to-back seasons builds up soil-borne diseases like scab and blight over time.
Rotate potatoes to a new bed each year if possible, waiting at least 2 to 3 years before planting nightshades in the same spot again. Following potatoes with a light feeder like beans, which add nitrogen back to the soil, sets up the next season’s crop well.
Growing Red Potatoes in Containers
Red potatoes grow well in large containers, grow bags, or even stacked tires if you’re short on garden space.
- Use a container at least 10 gallons, with drainage holes.
- Fill with a loose, well-draining potting mix, not garden soil.
- Plant seed pieces near the bottom and add more soil or straw as the plant grows, the same way you’d hill in the ground.
- Container potatoes typically need more frequent watering than in-ground plants, since pots dry out faster.
Common Pests and Problems
Colorado potato beetle is the most common insect problem for potatoes. Adults and larvae chew on leaves and can strip a plant if left unchecked. Chitting and early planting help your crop get ahead of the beetle’s emergence, and hand-picking beetles and egg clusters off leaves works well in a small garden.
Scab shows up as rough, corky patches on the skin. It’s mostly cosmetic and doesn’t affect the flesh underneath, but it’s more common in soil with a high pH or inconsistent moisture. Avoid fresh manure and lime, and keep watering consistent to reduce the risk.
Late blight causes dark, water-soaked spots on leaves that spread quickly in cool, wet weather. Good airflow between plants, avoiding overhead watering, and choosing resistant varieties all lower your risk.
When and How to Harvest
You can dig small “new potatoes” as early as 10 weeks after planting, usually once the plants have flowered. These have thin, tender skins and don’t store as long, so eat them within a week or two.
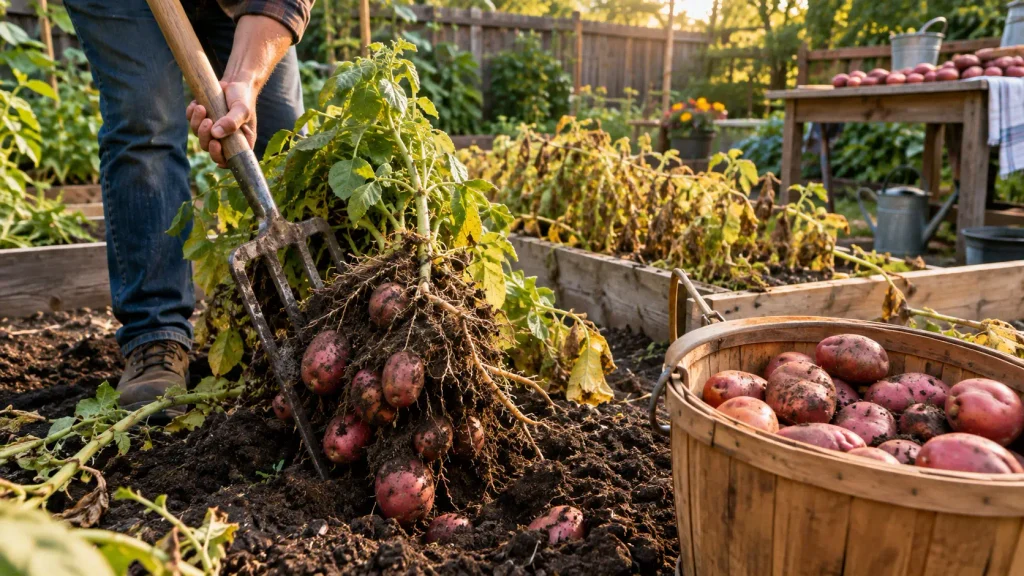
For mature, storage-ready potatoes, wait until the vines yellow and die back on their own, typically 70 to 120 days after planting depending on variety. Dig carefully with a garden fork, starting well outside the plant’s base to avoid stabbing the tubers.
Curing and Storing Red Potatoes
Curing heals small cuts and bruises on the skin and toughens it up for long storage. After harvest, brush off excess soil (don’t wash the potatoes yet) and cure them for 10 to 14 days at 50 to 60°F with high humidity, in a dark, well-ventilated spot.
After curing, store potatoes at 38 to 40°F in a dark location with good airflow. Check stored potatoes periodically and remove any that are soft or sprouting, since one bad potato can speed up decay in the ones around it.
Common Mistakes to Avoid
Planting grocery store potatoes. These can carry disease and are often treated to prevent sprouting, which works against you.
Skipping hilling. Without it, tubers push up toward the surface and turn green in the sun, which makes them bitter and unsafe to eat in large amounts.
Watering unevenly. Long dry spells followed by heavy watering causes tubers to crack or grow oddly shaped.
Harvesting too early for storage. New potatoes taste great fresh but have thin skins that don’t cure or store well. Wait for vines to die back if you want potatoes that last through winter.
Using fresh manure. It encourages leafy growth over tuber production and raises the risk of scab.
Final Thoughts
Start with certified seed potatoes, plant them 3 to 5 inches deep with room to spread, and keep hilling soil around the stems as they grow. Water consistently, watch for Colorado potato beetles, and wait for the vines to die back before digging up your storage crop. Get those steps right, and red potatoes are one of the more forgiving vegetables you can grow, in the ground or in a container.
FAQs
How long does it take to grow red potatoes?
Most red varieties take 70 to 110 days from planting to full maturity, though you can harvest small new potatoes around 10 weeks after planting.
How deep do I plant red potato seed pieces?
Plant 3 to 5 inches deep. Go shallower in cold, wet spring soil and slightly deeper in warmer, well-draining soil.
Can I use grocery store potatoes to grow red potatoes?
It’s better not to. Grocery store potatoes may carry diseases and are often treated with a sprout inhibitor. Certified seed potatoes from a garden center or seed catalog give more reliable results.
Why are my potatoes turning green?
Green potatoes have been exposed to light, usually because they weren’t fully covered during hilling. Green skin contains solanine, a bitter compound, so cut away any green parts before eating, or discard heavily green tubers.
Do red potatoes grow well in containers?
Yes. Use a container of at least 10 gallons with good drainage, and add soil or straw around the stems as the plant grows, the same way you’d hill potatoes in the ground.
How do I store red potatoes after harvest?
Cure them for 10 to 14 days at 50 to 60°F with high humidity, then store at 38 to 40°F in a dark, well-ventilated spot. Properly cured and stored potatoes can last several months.